Guides
How to Render SketchUp Models with AI (No Plugins, No V-Ray)
June 16, 2026
SketchUp is where the architecture world models; rendering is where it loses its afternoons. The AI route skips the entire render-engine pipeline: export a viewport image, upload, prompt, done. Here's the workflow in detail — see also our full AI rendering for SketchUp page.
Why no plugin is the right architecture
Plugin renderers tie you to versions, licenses and Windows-vs-Mac politics. AI rendering from exports works with every SketchUp tier — Free, Go, Pro — on any machine, because the only bridge is an image. Your model file never leaves your computer.
Step 1: Set up the view
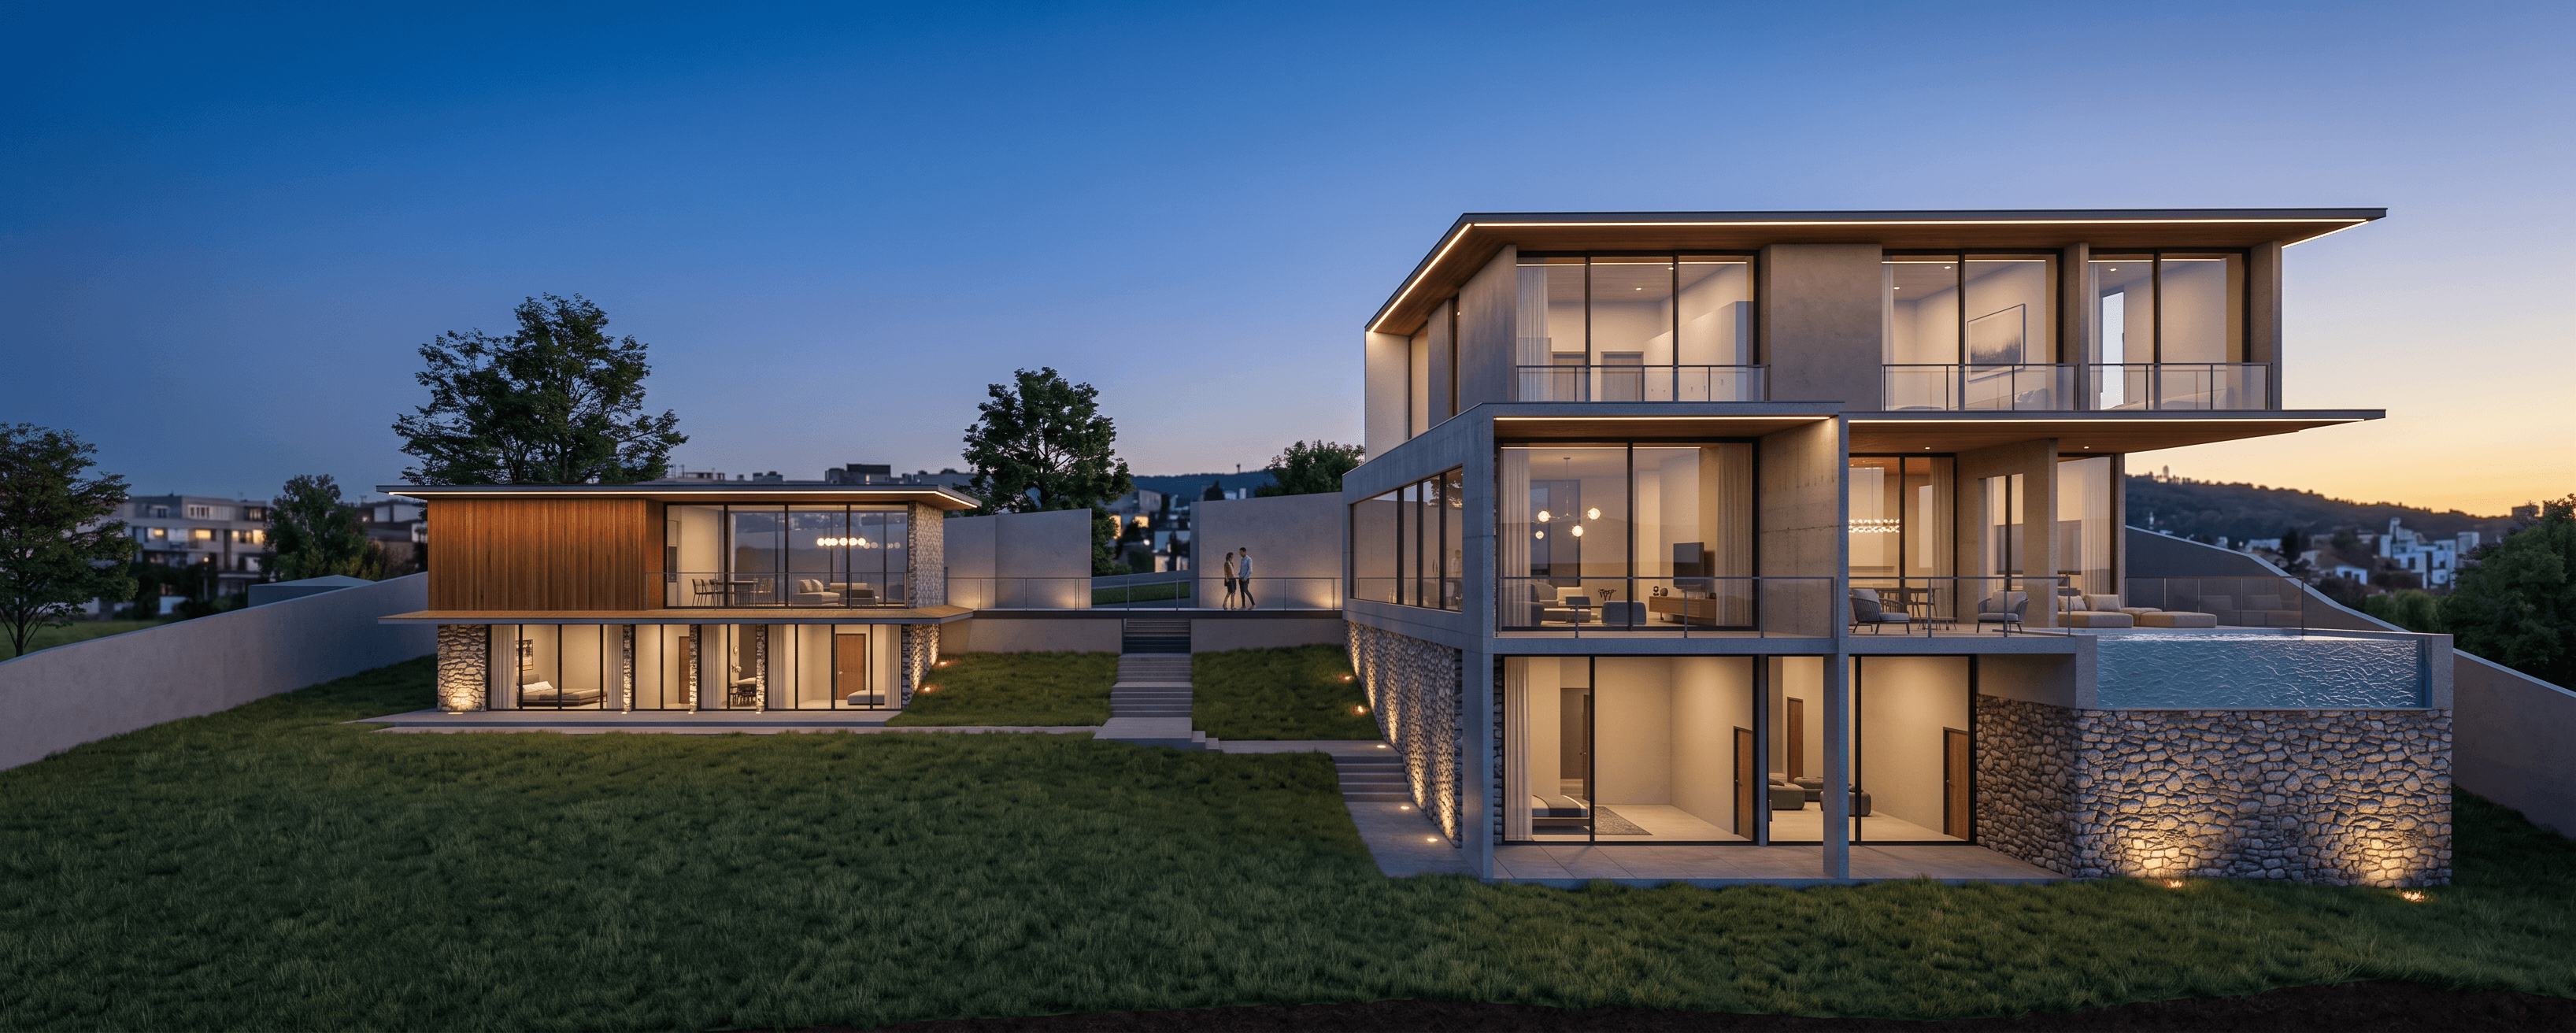
- Use two-point perspective (Camera → Two-Point Perspective) for facade shots — it reads as architectural photography.
- For style, plain shaded or white/monochrome works best. Don't waste time texturing: a clay model is the ideal AI input because the geometry is unambiguous.
- Turn off section planes, guides and axes display.
Step 2: Export properly
File → Export → 2D Graphic. Choose PNG, and set the width to 1500px or more. A crisp export gives the model clean edges to honor.
Step 3: Prompt the materials you didn't model
This is the trade: instead of mapping textures for an hour, you describe them in a sentence.
"Suburban house, white render and cedar slat facade, anthracite window frames, native garden, soft morning light"
The AI applies material character at believable scale and weathering, adds landscape and sky, and keeps your massing, openings and proportions where you put them.
Step 4: Iterate like it's free (because it nearly is)
At ~11 seconds per render, the economics of iteration flip. The professional move is rendering option families, not single images:
- Same view, three cladding prompts → material study for the client meeting
- Same view, "June afternoon" vs "overcast" vs "dusk, windows glowing" → lighting study
- Three exported angles, one prompt → consistent image set for the deck
On RNDRS, each option is a node wired to the same source export, so the comparison stays organized instead of becoming a downloads-folder archaeology project.
Step 5: Finish for the deliverable
- Upscale to 4K before print or boards.
- Extend the frame if you need a wider crop for a banner or A0 layout.
- Generate a 5-second camera move from the hero image for the closing slide.
When you'd still use V-Ray or Enscape
Physically exact daylight studies, photometric compliance imagery, or long real-time walkthroughs — simulation still owns those (see our honest V-Ray comparison and Enscape comparison). For everything else — concepts, options, client reviews, most marketing stills — the AI path is faster by an order of magnitude.
The fastest way to calibrate is your own model: export the view you're working on right now and render it free.