
Guides
How to Use SketchUp Views in an AI Rendering Workflow
June 16, 2026
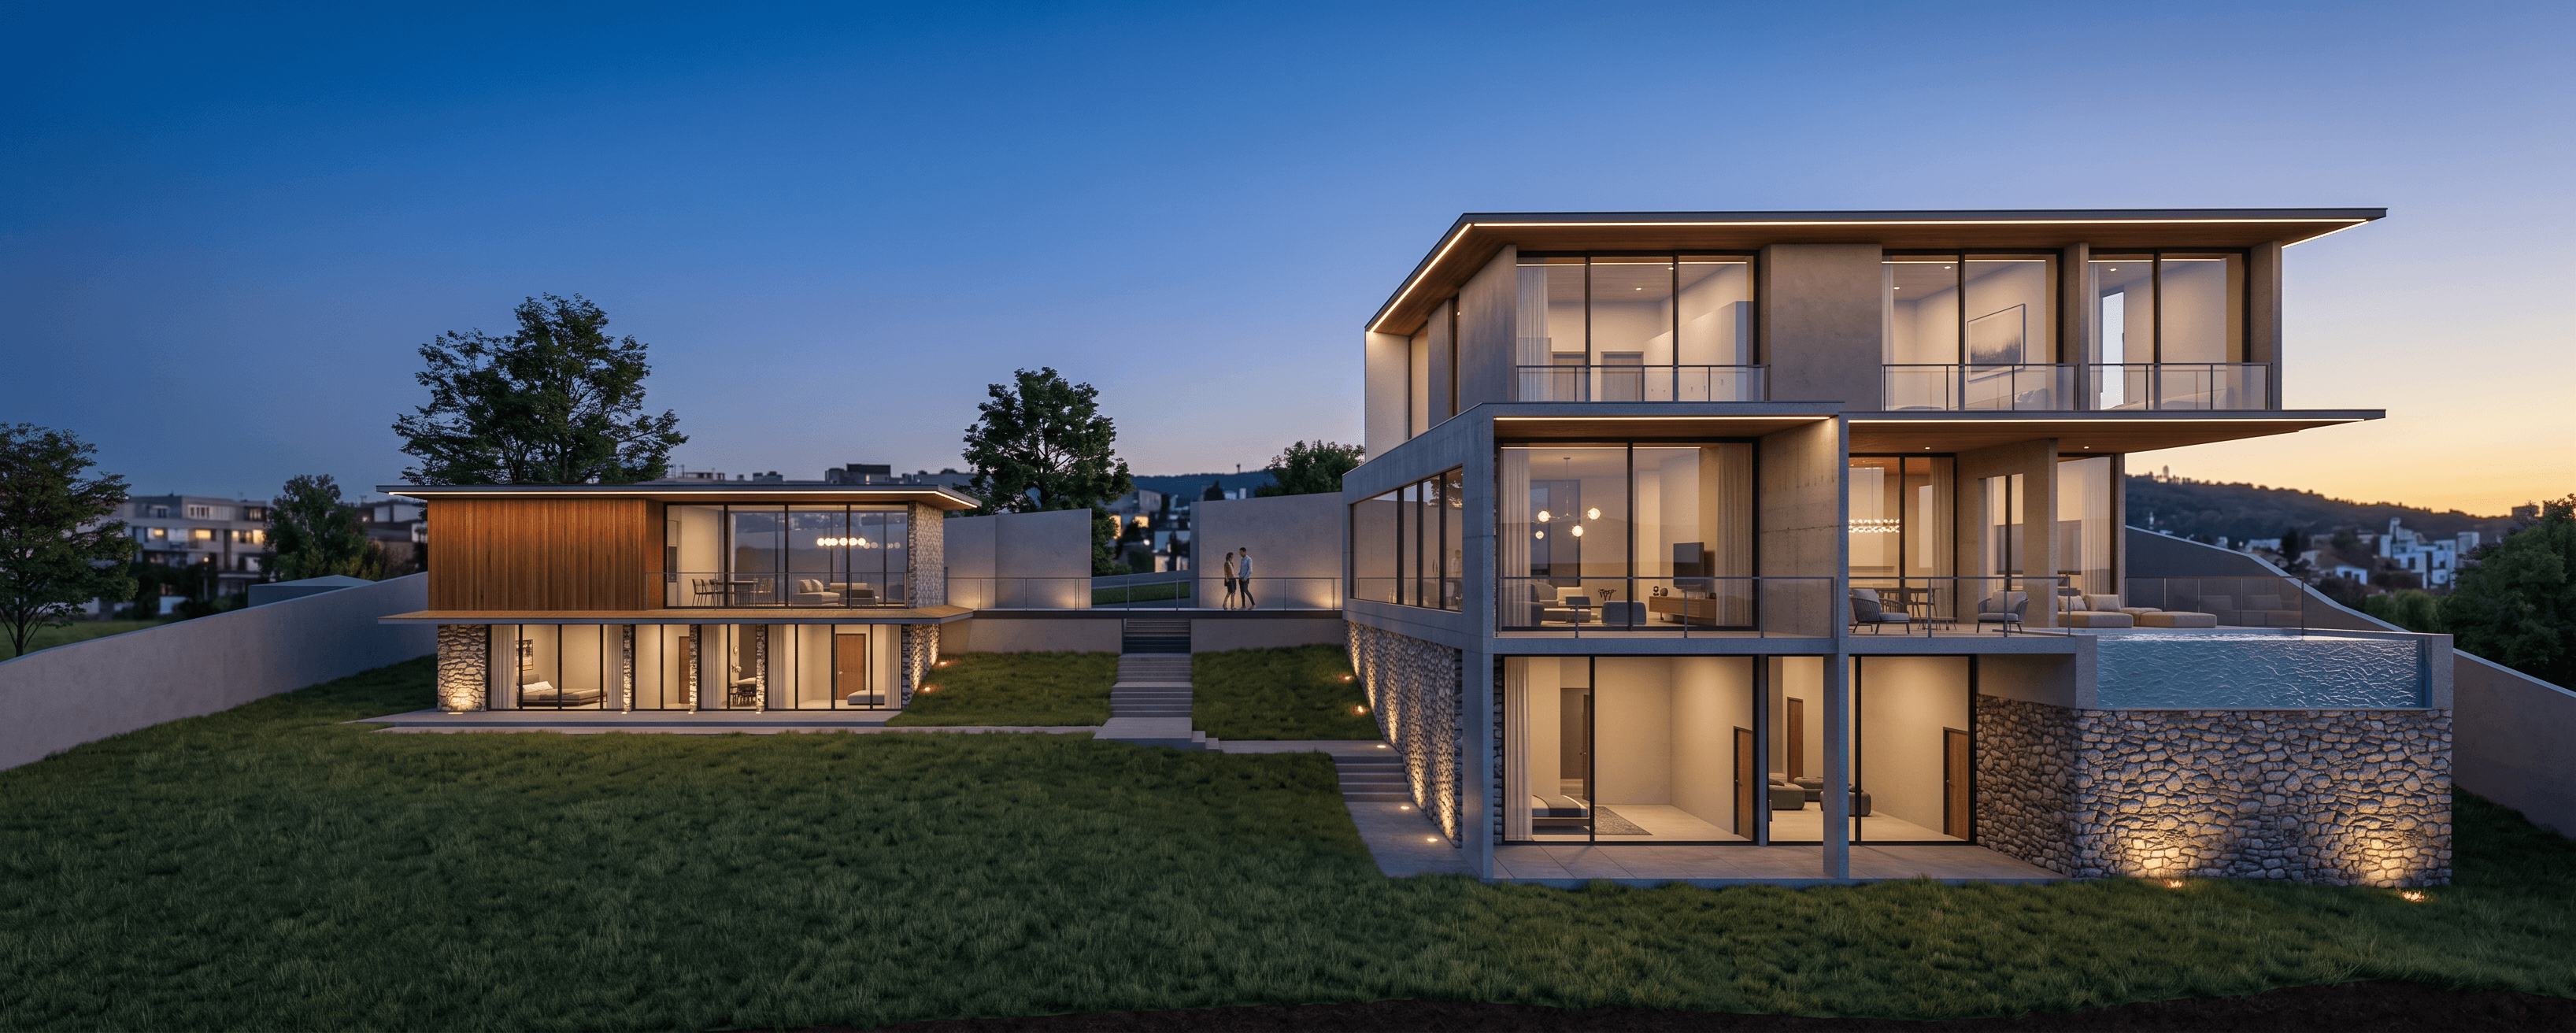
RNDRS works from an image of your SketchUp view rather than importing an editable SketchUp model. Keep the model as the source of truth for geometry, dimensions and additional cameras.
Prepare the viewport
Choose a camera that clearly communicates the design question. Show the main openings, roof edges and ground relationship. Avoid interface panels, selection highlights and unrelated guides in the image. A simple shaded or monochrome view can be useful when material decisions are still open.
Export a supported image file and inspect it before upload. If the building is too small in the frame or edges are unreadable, improve the source rather than expecting the model to reconstruct missing detail.
Describe a focused change
Name the building or space, the material direction and the lighting. State the geometry and camera constraints explicitly. For example:
Visualize this street-facing view with pale brick and bronze window frames. Keep the massing, opening positions and camera unchanged.
References can guide material appearance, but they should not silently replace the source building or viewpoint.
Review against the model
Compare the original viewport and generated result. Check window counts, floor levels, repeated facade elements and any new objects. If the intended change is local, select that area and revise it instead of asking for an unrelated new scene.
For another accurate camera, export that view from SketchUp. An inferred AI camera change is a conceptual variation, not a recovered 3D scene.
Finish and export
Choose a useful version, name it and prepare the required export. An upscale quote shows the supported output dimensions; inspect details after processing. See current pricing for plan information.
Try this workflow yourself
Studio is available to everyone. Check pricing for the current credit allowance and action costs.
Start free