
Workflows
From Clay Render to Architectural Visualization
June 16, 2026
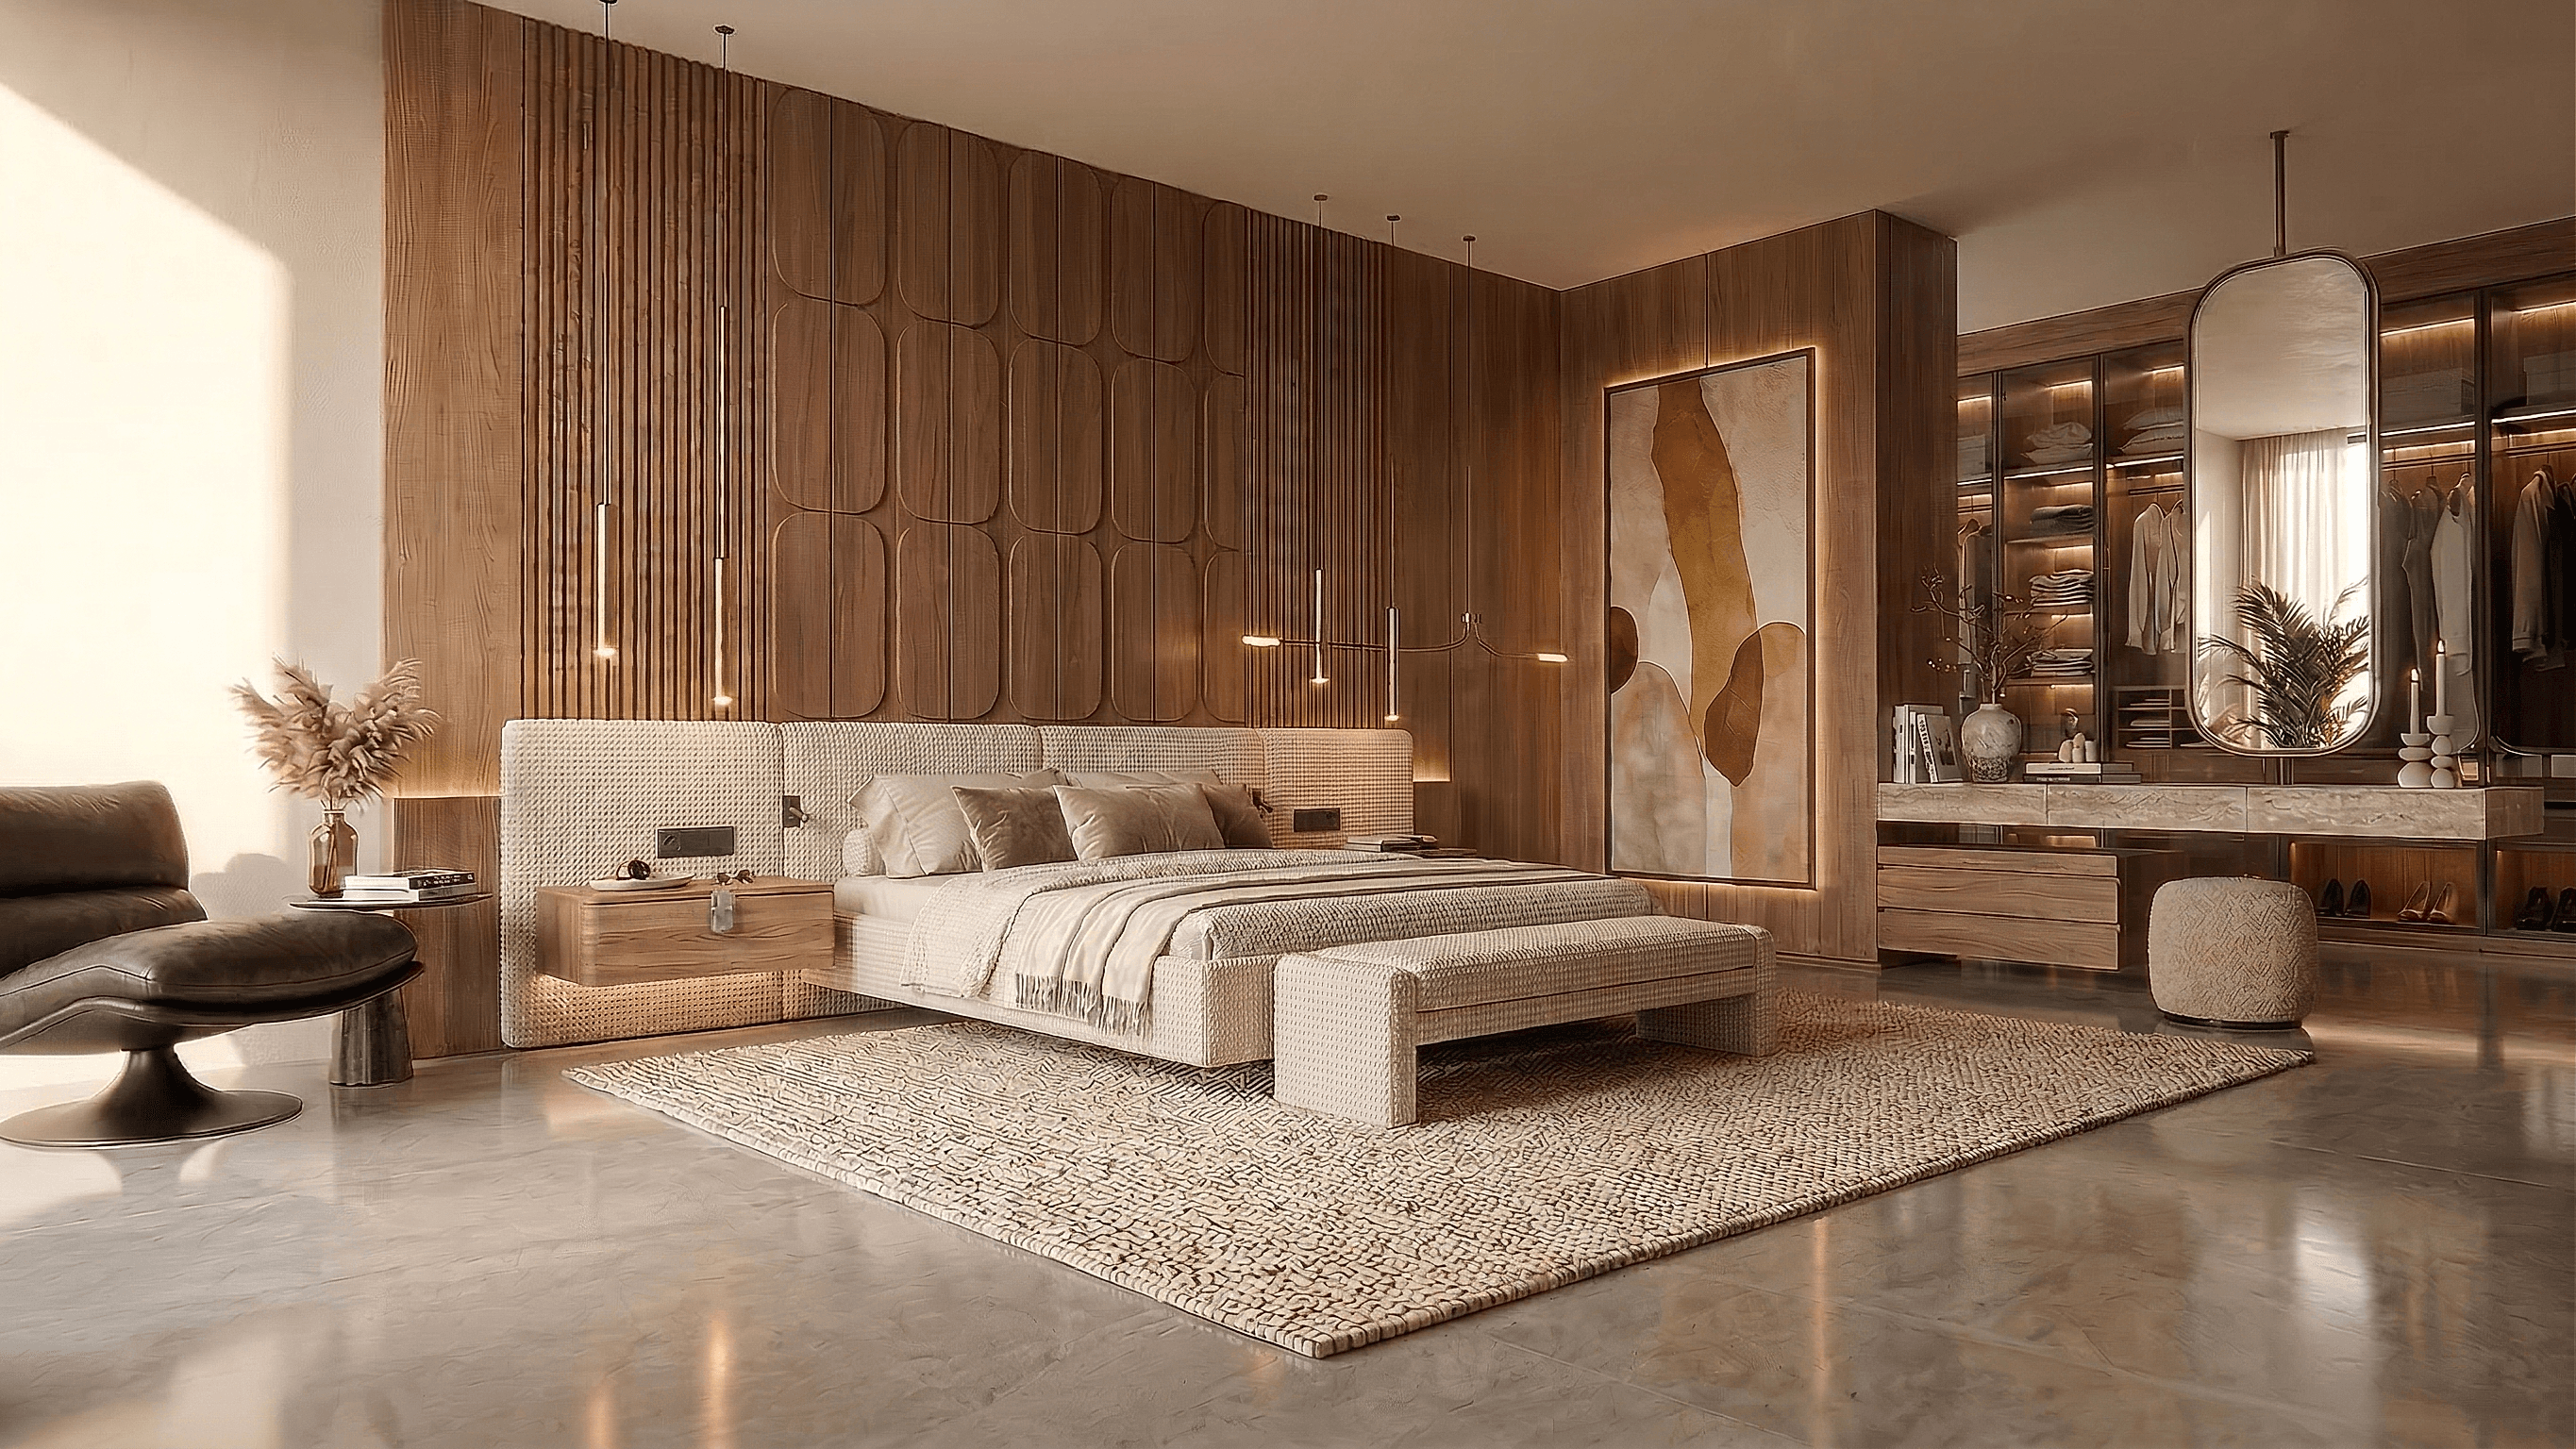
A clay or untextured model view can make the main building forms easier to read while leaving material choices open. It is a useful starting point for a concept study, not proof that an AI model will preserve every edge.
1. Capture the design clearly
Choose a camera that shows the important openings, silhouette and ground relationship. Remove selection highlights and unrelated interface elements. Avoid cropping away the part of the model that explains the question you want to explore.
2. Establish a material direction
Describe a limited palette and lighting condition. For example:
Explore pale brick, dark bronze frames and a timber entrance in soft overcast light. Keep the source massing, camera and opening positions.
A clean source helps communicate intent, but ambiguous or hidden geometry may still be invented.
3. Vary one attribute
In Studio, create two or four alternatives from the same source. A controlled flooring or cladding study names the attribute and gives each option a distinct value. Keep fixed constraints in the brief and compare every result with the original.
Review window counts, corners, setbacks and unwanted site changes. Do not assume that a repeated prompt makes the comparison physically controlled.
4. Refine the useful version
Name the direction you want to retain. Use a local selection for a limited correction and retain the original as a reference. Supply another model view if you need another accurate camera.
5. Prepare the output
Use the actual pixel dimensions when placing an image on a board. Upscaling has a source-dependent size and price; it does not verify architectural detail. Animation is a separately priced action.
Start a clay-view study. Processing time and the number of corrections vary; no fixed turnaround is promised.
Try this workflow yourself
Studio is available to everyone. Check pricing for the current credit allowance and action costs.
Start free