
Material boards that live in the room
Describe oak, walnut or microcement in Studio and compare the results. Start each material study from the same source image.
RNDRS for Interior designers
Start with a room photo or exported model view. Use Studio to explore furniture, materials and lighting, then compare each change with your original design.
AI rendering that works from the image you already have — a sketch, a model view, a photo. Ask for the change, keep every version. In the browser, no plugin, no GPU. From $19 a month, or $99 once — credits never expire. 5 free renders. No card. Failed renders are refunded automatically.
Studio is available to everyone. Create an account to get started.
Open Studio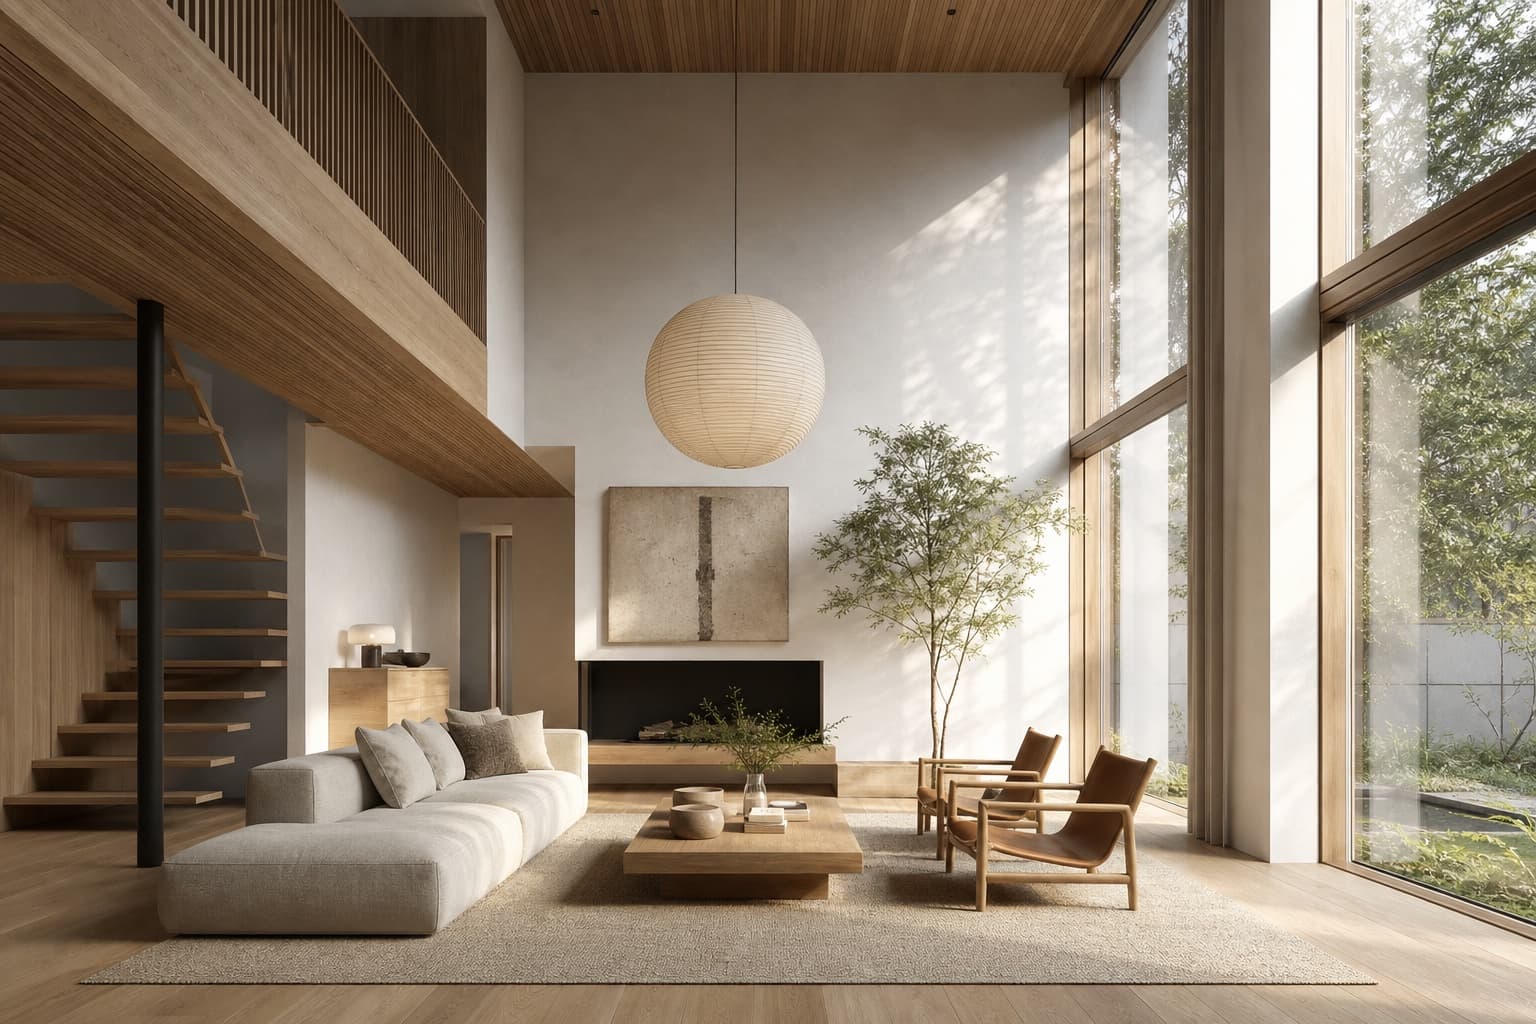
Keep the source, your instruction and the result together. Review each change before continuing.
Site photo or 3D view of the room
Clear existing furniture and clutter
"Japandi, oak, linen, morning light"
Enlarge and inspect the selected result
Choose the workflow around the image you need to deliver and the control your project requires.
Describe oak, walnut or microcement in Studio and compare the results. Start each material study from the same source image.
The AI eraser removes the seller's furniture from site photos. Then render your scheme straight onto the empty room.
Explore a short camera movement from your interior render. Inspect furniture, openings and edges for motion artifacts before presenting it.
Yes — that's the core workflow. Erase the existing furniture with the AI eraser, then render your scheme directly onto the cleared room.
No. Photos, CAD views and even moodboard sketches all work as inputs — describe the materials, palette and light in the prompt.
Start from the same image with different instructions. Review each option against your source before selecting a direction.
Inspect the downloaded dimensions and details at presentation scale. Upscaling is available for finishing; current plans and terms describe commercial-use rights.
Upload something you are working on. Explore a direction in Studio, then refine it against your original.