Skip to content

RNDRS · Interior AI render

Rooms styled, lit and rendered with AI

Bring a room photograph, sketch or exported interior view into Studio. Explore furniture, surfaces and lighting through conversation, with references and area selections when useful. Compare every result with the original room and your design brief.

AI rendering that works from the image you already have — a sketch, a model view, a photo. Ask for the change, keep every version. In the browser, no plugin, no GPU. From $19 a month, or $99 once — credits never expire. 5 free renders. No card. Failed renders are refunded automatically.

Studio is available to everyone. Create an account to get started.

Open Studio
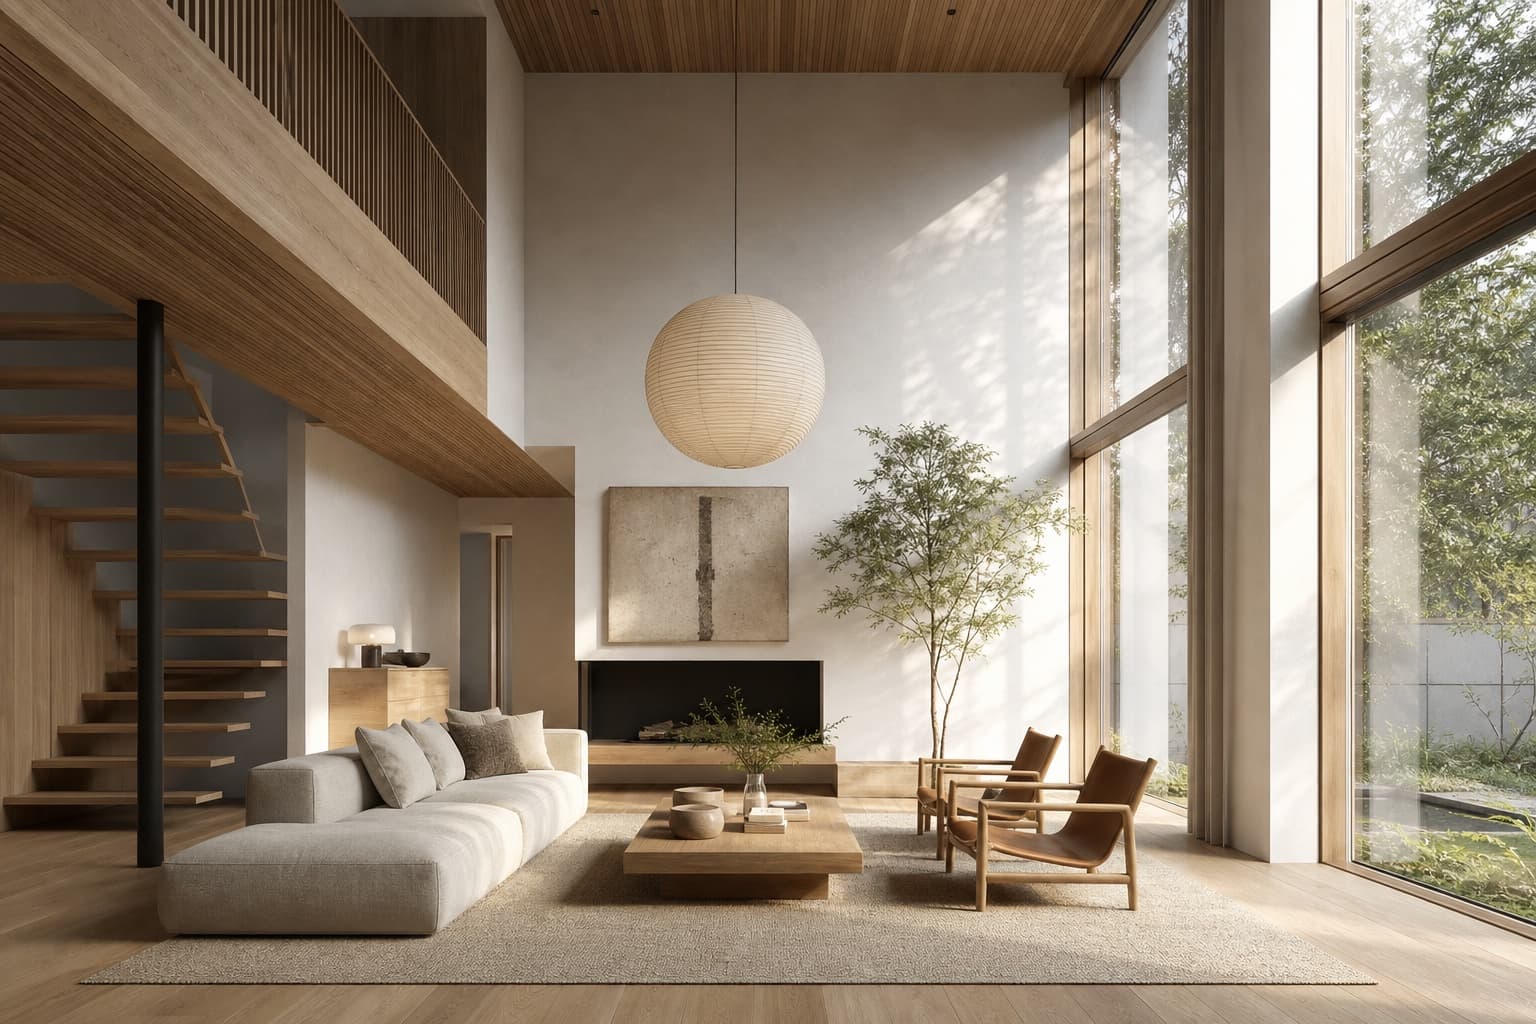
Illustrative contemporary interior with natural materials
Illustrative imagery, not a verified customer result or a guarantee of output quality.

How it works

Keep the source, your instruction and the result together. Review each change before continuing.

Prepare your source with the free input checklist
  1. Upload

    Interior CAD view, sketch or photo of the empty space

  2. Prompt

    "Japandi living room, oak, linen, warm afternoon light"

  3. Render

    Generate a visualization and review it against your source

  4. Iterate

    Try another palette or style and compare the results

What to consider

Choose the workflow around the image you need to deliver and the control your project requires.

Material boards in context

Keep the room image as the source and attach a separate material reference when useful. Explain what to borrow: wood color, stone veining or panel rhythm, for example. Say which surfaces should change and which should remain. Compare the result with the source and keep physical samples for final material approval.

From site photo to scheme

Choose a clear room photograph with the surfaces you want to revise visible. Crop out unrelated images and avoid extreme wide-angle distortion where possible. For one wall finish or furniture change, select that area and describe the intended material or object. Inspect the surrounding floor, adjacent walls and openings after the edit.

Explore the lighting direction

Morning light, candlelit evening, gallery-grade neutral — explore a new lighting treatment to show how the room lives across the day.

Before you start

Practical answers about inputs, scope and the next step.

Studio help
What inputs produce the best interior renders?

SketchUp/Blender viewport exports, CAD perspective views, hand sketches and straight-on photos of real rooms all work well. Wide-angle views with visible floor and ceiling give the AI the most to work with.

Can I keep my furniture layout?

AI generation can change geometry or introduce details. Compare the output with your source and verify dimensions separately. The image is a visualization, not measured documentation.

Does it work for kitchens and bathrooms?

You can explore cabinetry, surfaces and fixtures from a room image. Describe the intended materials and use references where helpful. Verify dimensions, clearances and product choices separately.

Can I show a client multiple styles of the same room?

Start with the same image and explore Japandi, classic or industrial directions through separate instructions. Compare the results before presenting them.

Try it on a real project

Upload something you are working on. Explore a direction in Studio, then refine it against your original.

Start this task