Skip to content

RNDRS · Sketch to render

AI sketch rendering, from your first lines

Turn a hand drawing into an architectural visualization you can review. Start with a clear scan or photograph, describe the material and lighting direction, then check the AI interpretation against your original sketch.

AI rendering that works from the image you already have — a sketch, a model view, a photo. Ask for the change, keep every version. In the browser, no plugin, no GPU. From $19 a month, or $99 once — credits never expire. 5 free renders. No card. Failed renders are refunded automatically.

Studio is available to everyone. Create an account to get started.

Open Studio
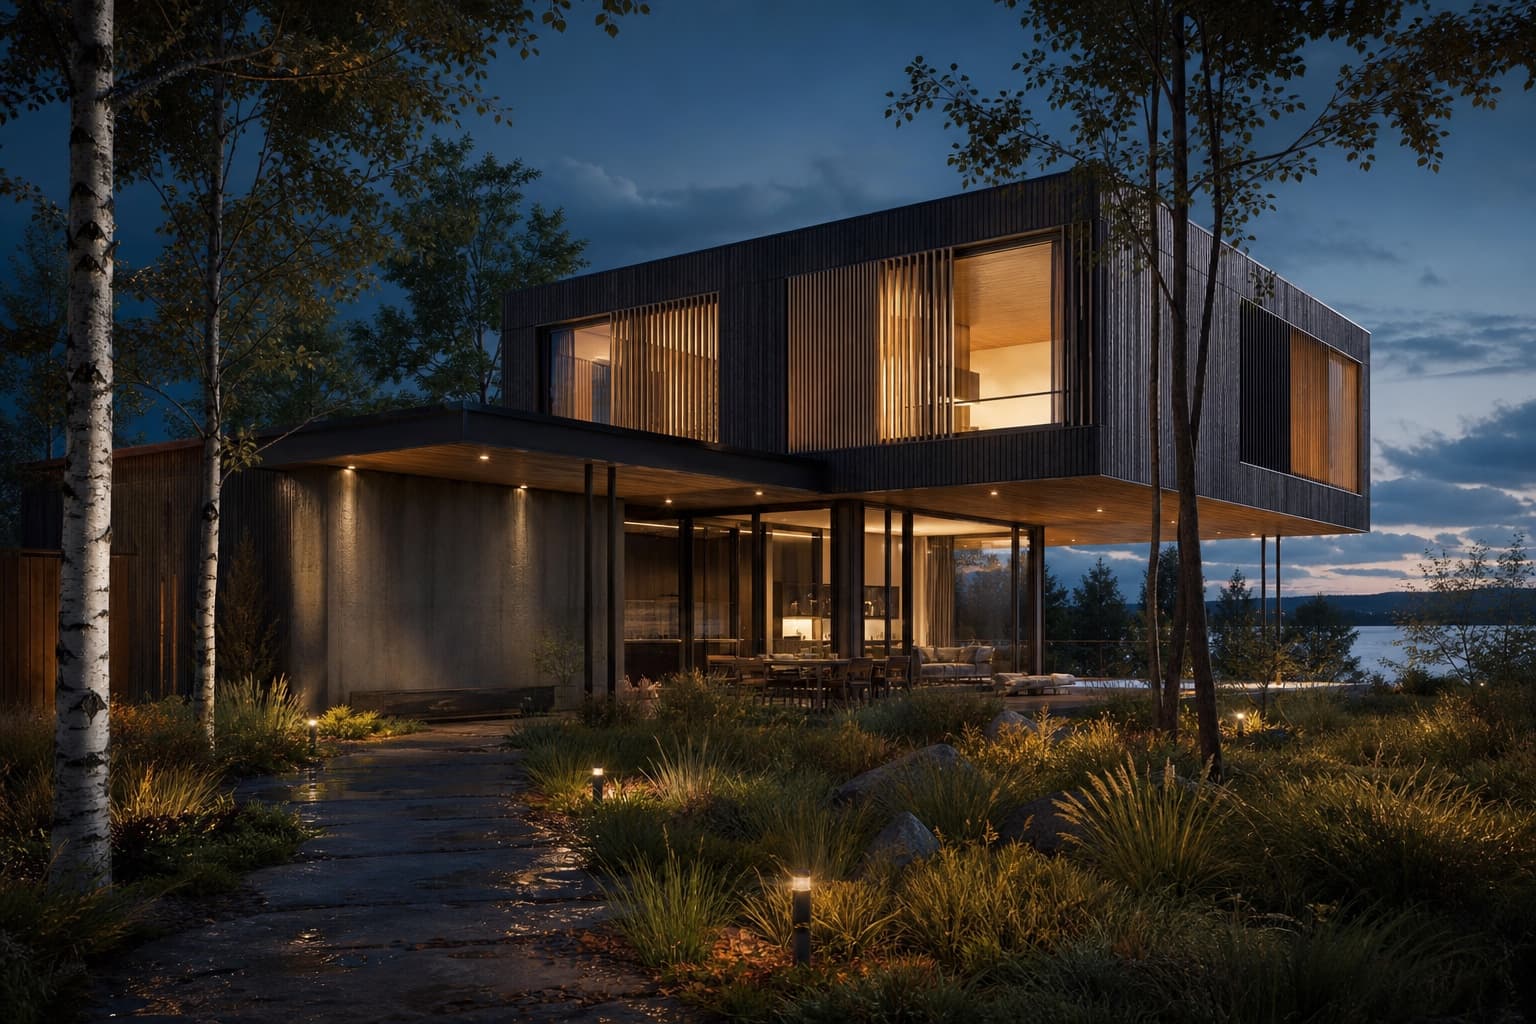
Illustrative timber-house exterior beside a lake
Illustrative imagery, not a verified customer result or a guarantee of output quality.

How it works

Keep the source, your instruction and the result together. Review each change before continuing.

Prepare your source with the free input checklist
  1. Capture

    Photograph or scan the sketch — pencil, ink or marker all work

  2. Upload

    Drop it onto the RNDRS canvas

  3. Prompt

    "Board-formed concrete, desert garden, dusk glow"

  4. Render

    Generate a visualization and review it against your source

What to consider

Choose the workflow around the image you need to deliver and the control your project requires.

Start from your drawing

Photograph the sheet square-on in even light, or scan it. Crop to one drawing and keep the roofline, openings and ground line readable. Remove unrelated notes and title blocks. If the sketch leaves a side of the building unresolved, say what you want to explore rather than treating the generated detail as a design fact.

Bring the sketch into a review

Describe the visible design first, then the change: for example, explore pale brick walls and an overcast lighting direction while retaining the camera and openings. This is an example brief, not a tested result. Compare window counts, storey heights and roof edges with the sketch before selecting a direction.

From loose to lush, gradually

Refine in stages: first pass for massing and mood, then materials, then upscale the selected result. Review each stage against your source.

Before you start

Practical answers about inputs, scope and the next step.

Studio help
How rough can the sketch be?

Clear perspective and readable main masses give the model a better starting point. Rough or ambiguous drawings can produce invented geometry; compare openings, proportions and camera with your intended design.

Can I render pencil, ink and marker sketches?

Yes — any medium. Photograph it in even light or scan it. Dark lines on light paper produce the most faithful interpretation.

Will it work for interiors and landscapes too?

Yes. Interior perspective sketches, garden plans and section sketches all render — describe the space and atmosphere in the prompt.

What if I want to change materials after rendering?

Edit the instructions and generate a new result from the same sketch to explore another palette. Processing time varies by model, resolution and demand.

Is sketch-to-render free to try?

The pricing page lists the current starting allowance. Review the cost shown for your selected action before generating.

Try it on a real project

Upload something you are working on. Explore a direction in Studio, then refine it against your original.

Start this task